-
WORKING TABLE

A clean 3’x3’ table space would work initially to start with. The table height should let you keep your spine straight while working. A canvas cloth (without primer coating) can be used to cover the table top to avoid any clay sticking to the table surface.
A wooden board with a canvas cover is ideal to wedge clay and you can use C-clamps to secure the board from any movement while wedging. Alternatively, you can purchase premade wedging boards. Claystation offers in two sizes 1.5 ft X 1.5 ft and 2ft X2ft.
-
CLAY

Choosing the right clay plays an important role in your practice. Our recommendation is for you to use a stoneware or earthenware clay for hand-building. There are many brands including Claystation that offer different variations. You need to look for a clay which has two important characteristics- plasticity and strength. Plasticity refers to how easily you can shape and more importantly the tendency of the clay to retrain the shape.
Strength is the next important factor and this refers to how much the clay can hold itself up once it is shaped. Clay that is strong will be able to support itself well if not, it will buckle and slump.
Claystation’s Sandalwood and Coffee Brown clay are ideal for beginners exploring hand-building. These clays have relatively good strength, which makes working with them enjoyable.
Once you have purchased the clay, below are few tips for managing the storage.
- Store the clay away from direct sunlight in a cool dry place
- While closing the clay pack, try and remove as much air from it
- If you feel your clay has become hard; add 0.20% by weight of water (E.g. If 9 kg of clay is left in the packet; add 180 gm of water and let it rest overnight) you will observe the clay is much softer and workable the next day
-
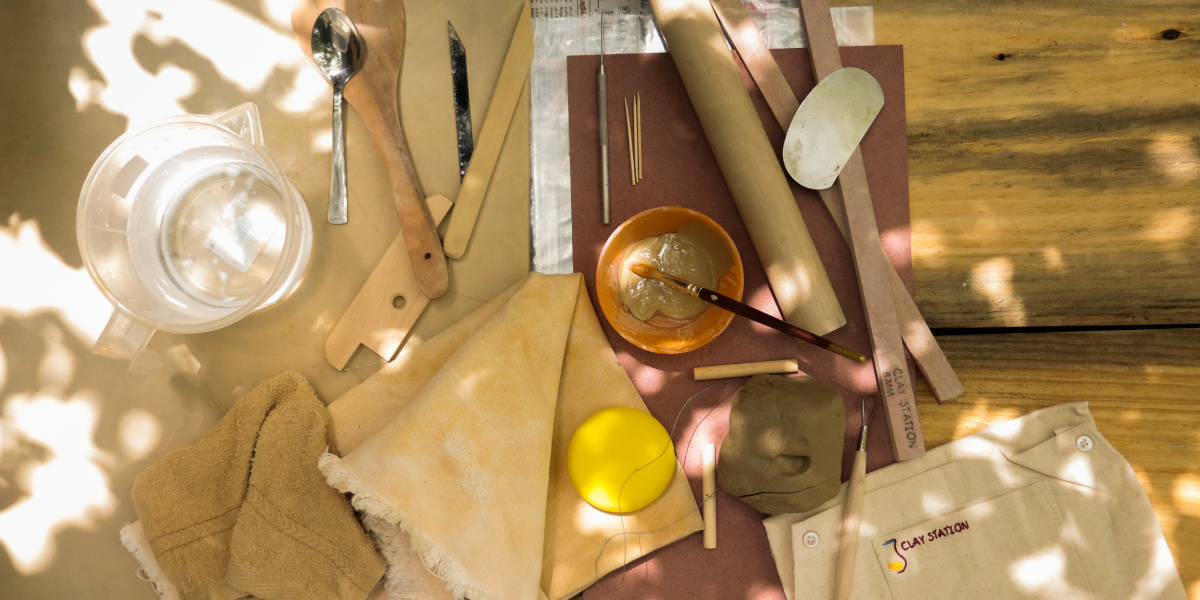
BASIC TOOLS

-
Choosing the right set of pottery tools could be daunting as there are so many options available. Here is a list of basic tools you might need for hand-building. Some of the tools listed below can be easily replaced using day to day objects that are found at home. So, consider creative alternatives before you purchase them.
-
Pottery tool Kit: First and foremost, on the tools list is a beginner pottery toolkit. This includes a wire cutter, needle tool/toothpick, a sponge, metal rib, wooden knife, trimming tool and a loop tool.
-
Scoring tool: For scoring and attaching two hand-built pieces a needle tool can be used initially to start with but a scoring tool is much more useful and efficient
-
Clay knife/hacksaw blade: These work perfectly while cutting soft clay into various shapes as well as for detailed cutwork at the leather hard stage.
-
Rolling pins and guides: These are ideal for a beginner to make slabs. One should initially invest in them before investing in an expensive slab roller.

-
A bevel cutter can serve as an essential tool while working with clay slabs to get precise angular edges especially while building geometrical forms.
-
Paddle tool is useful in shaping objects or to strengthen attachments. Initially, you can also start off with using a wooden spoon too.
-
Banding Wheel: As your hand-building practice matures and involves lot of surface decoration, carving and sculpting then it is recommended to invest in a good banding wheel or turn table.

-
STORAGE

As you start making articles, a regular open rack can be used to keep the covered articles for drying. Choose the shelf size according to the article size and the board holding the article as well. Try assigning different racks or shelves for fired and unfired articles to avoid any confusion while handling.
-
PLUMBING
It is quite important to avoid clay and other ceramic materials to go through your home plumbing system as it could clog your drain. The best way to avoid clogging is by cleaning your hands and tools thoroughly in a tub or a bucket of water first. The clay particles will settle down overtime and the water that remains in the top can be removed. The clay that settles down can be recycled.
-
OTHER ESSENTIALS
-
Apron: Some clay bodies may stain your work clothes and therefore consider using an apron while working with clay
-
Plywood or MDF boards: These come handy while working with clay slabs. Boards can also be used to transfer articles with in the studio
-
Newspapers and plastic sheets: Always keep some newspapers and plastic sheets handy in the studio. Plastic sheets are widely used to cover the articles for uniform drying
-
Cleaning workspace: Breathing clay dust is harmful, so to avoid air born dust spray water on top of the work surface before scraping clay from the surface